Pruning is an essential skill for any gardener, whether you’re a novice or an expert. Proper pruning not only enhances the aesthetic appeal of your plants but also encourages healthy growth, boosts flowering, and increases fruit yield. In this article, we’ll cover the why and how of pruning, along with practical tips to ensure your plants thrive. Let’s dig in!
The Best Practices for Eco-Friendly Plumbing | The Best Plants for Your Bathroom and Why You Need Them
How to Create a Wildlife-Friendly Garden | How to Create a Zen Garden: Tips and Ideas
Understanding the Basics of Pruning
Why Prune?
Pruning is vital for several reasons:
- Health: Removing dead or diseased branches prevents the spread of diseases.
- Growth: Pruning encourages new growth and helps maintain the plant’s size and shape.
- Aesthetics: Well-pruned plants look neater and more attractive.
- Production: For fruit-bearing plants, pruning can increase yield by allowing more light and air to reach the fruit.
When to Prune?
The timing of pruning is crucial. Here’s a quick guide:
- Spring: Best for most flowering shrubs and trees after blooming.
- Summer: Ideal for shaping plants and removing dead flowers.
- Autumn: Perfect for preparing certain plants for winter.
- Winter: Good for deciduous trees and shrubs while they are dormant.
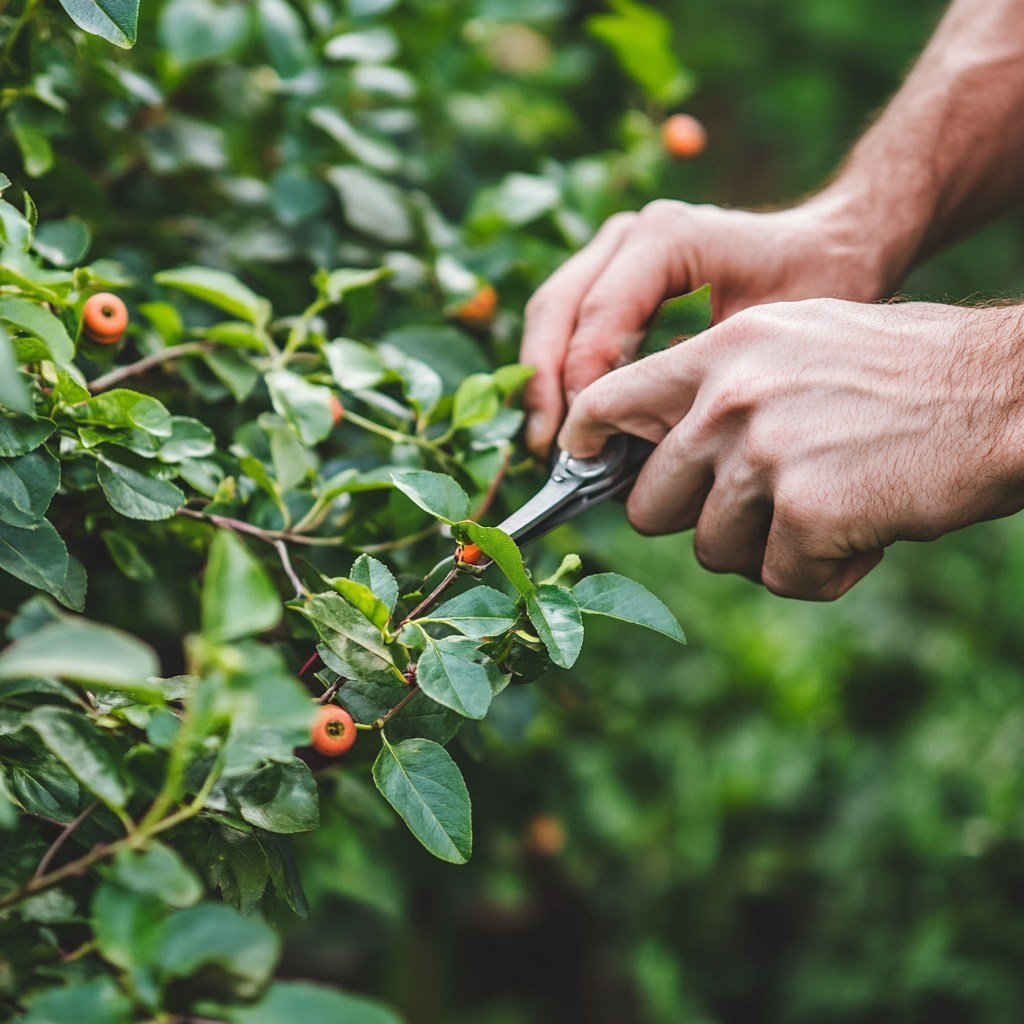
Essential Tools for Pruning
Having the right tools is critical for effective pruning. Here’s a list of essential tools:
- Pruning Shears: For small branches and stems.
- Loppers: For thicker branches.
- Pruning Saw: For larger branches that require more force.
- Gloves: To protect your hands from thorns and sharp edges.
- Disinfectant: To clean your tools before and after use, preventing disease spread.
Step-by-Step Guide to Pruning Your Plants
Step 1: Assess the Plant
Before you start pruning, take a good look at your plant. Identify which parts need to be removed:
- Dead or diseased branches
- Overgrown areas
- Branches crossing each other
Step 2: Make the Cuts
- Start from the bottom: Always prune from the bottom up to maintain structure.
- Cut at a 45-degree angle: This helps water run off the cut, reducing the risk of rot.
- Don’t cut too close: Leave a small collar at the base of the branch to protect the plant.
Step 3: Remove the Right Amount
It’s better to under-prune than over-prune. A good rule of thumb is to remove no more than 25% of the plant in one session.
Step 4: Clean Up
After pruning, clean up any debris around the plant to prevent pests and diseases. You can also apply a pruning sealant on larger cuts to help the plant heal.

Summary Table
| Action | Details |
| Assess the Plant | Identify dead, diseased, or overgrown areas. |
| Make the Cuts | Cut at a 45-degree angle, leaving a collar. |
| Remove the Right Amount | Limit to 25% of the plant at a time. |
| Clean Up | Remove debris and apply sealant to larger cuts. |
Pruning your plants is not just about maintaining their appearance; it’s about promoting optimal growth and health. By understanding the basics and following the right techniques, you can ensure that your plants thrive and flourish. Remember to assess your plants regularly and prune as needed to enjoy a vibrant garden all year round!
FAQs
The best time to prune varies by plant type but generally, spring and autumn are ideal for most.
Look for dead, diseased, or crossing branches and assess the overall shape of the plant.
No, different plants have unique requirements, so always research specific pruning needs for each type.
Yes, sterilizing tools help prevent the spread of diseases between plants.
Over-pruning can stress the plant, leading to poor growth or even death. Always prune conservatively.